Page was last updated: 11.25.04
Reaper Jr's Crankcase vent mod
Parts needed:
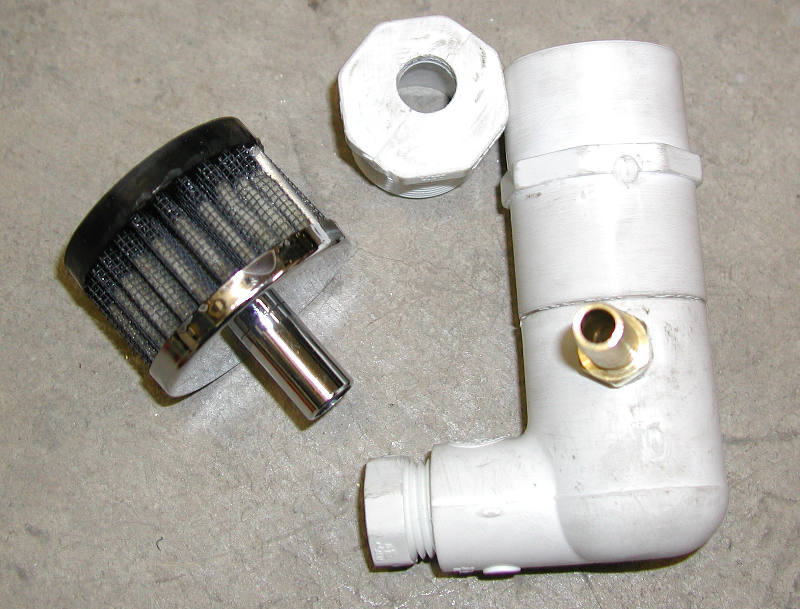
K&N crank case filter
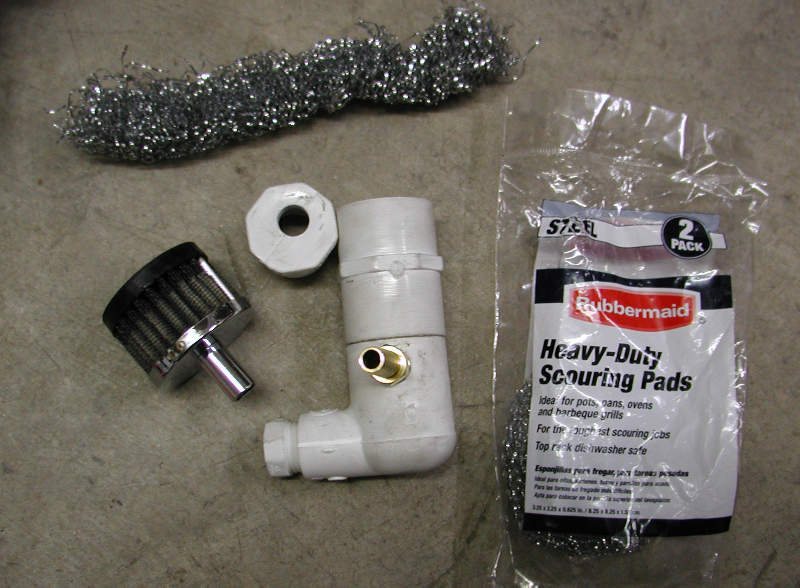
Steel scrub bud
1.5" PVC pipe reducer with threaded end
1.5" threaded plug
1.5" 90 deg PVC with 1.0" reducer
1.0" threaded plug
3/8" barbed brass fitting
PVC glue
Epoxy
I originally had the crankcase vented between both carb as depicted in my DBAK page, but noticed that I was getting oil residue in the boots to the carbs, so I decided to vent it with an external crankcase vent. This setup caused crankcase oil mist to get all over my carbs and in-between the jugs. I would notice this oil mist residue more when I would get on the throttle allot. Well, I finally got tired of wiping my motor and carbs down, so I started to look at aftermarket alternatives. I found a cool polished billet breather/reservoir setup, but couldn't swallow the price of a piece that I would most likely be hiding under the tank anyway. So I decided to make my own version.
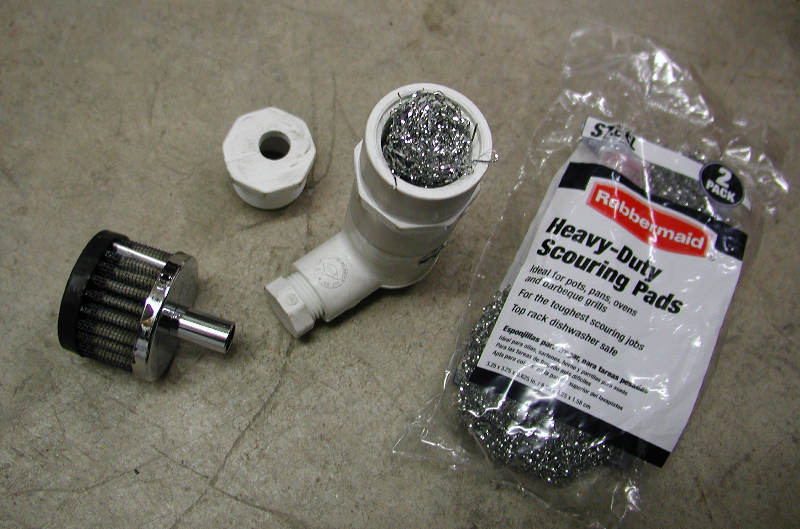
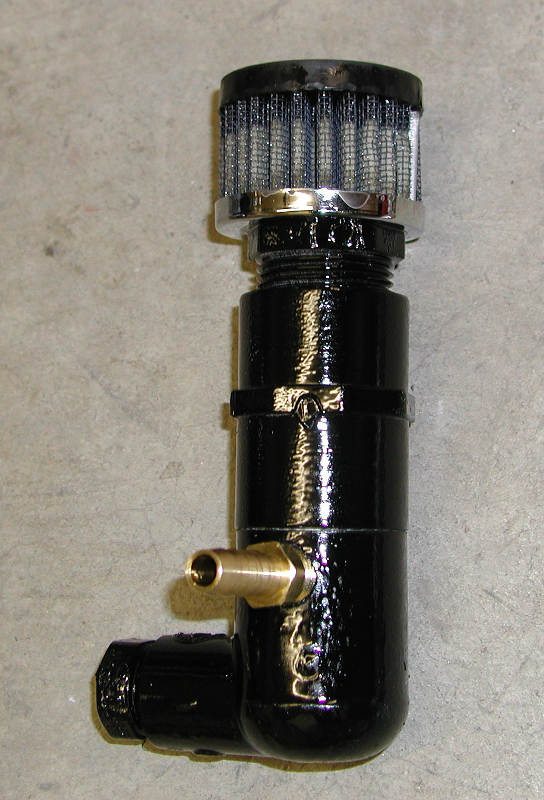
I'm using the crankcase filter that I originally was using on this assembly, and this setup collects most of the oil in the steel scour bud so it doesn't mist out onto my carb or cylinder jugs now. The drain plug makes easy draining of the collected oil. This works well and is CHEAP!
CLICK ON THUMBNAILS FOR LARGER IMAGE
|
90deg reducer is glued to the straight reducer. Drill the top of the threaded cap for the filter. You might want to center punch it or the drill will wander off center as shown.. :-) |
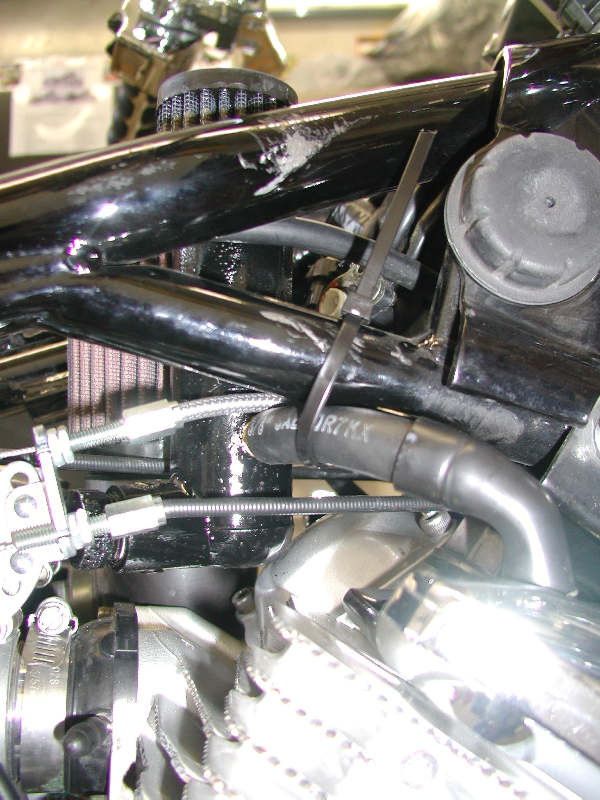
Mock up the crankcase vent tube under the tank in a spot where you will place the assembly and mark where you will want the 3/8" barbed fitting to point out. Drill the appropriate size hole and thread into place. |
|
Take the steel scrub pad and cut to size to fit within the assembly. Be careful as the cut ends will be like little razors. Don't ask me how I know this.. :-) |
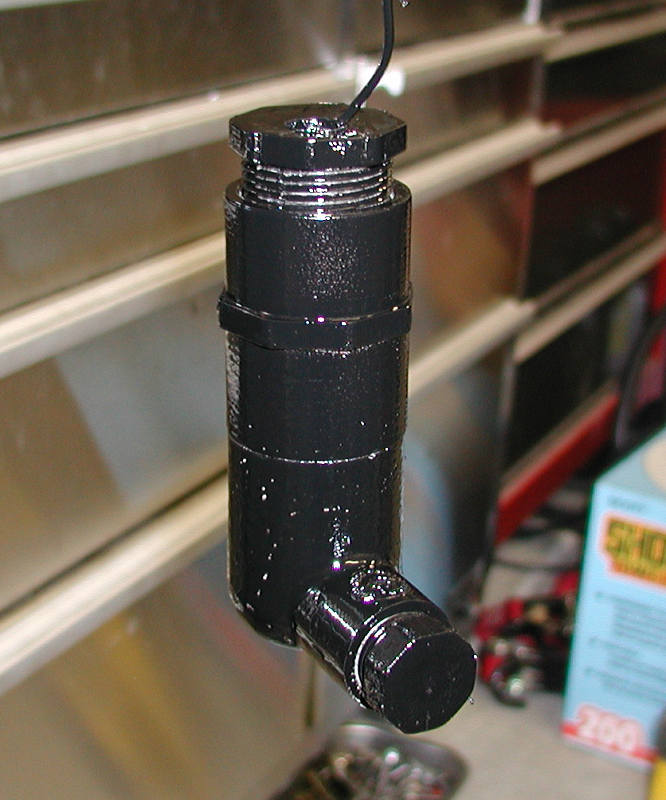
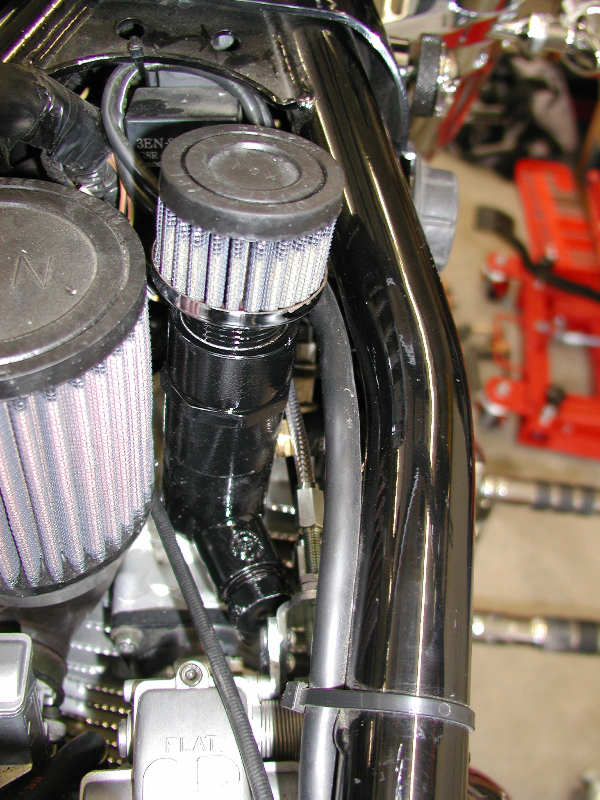
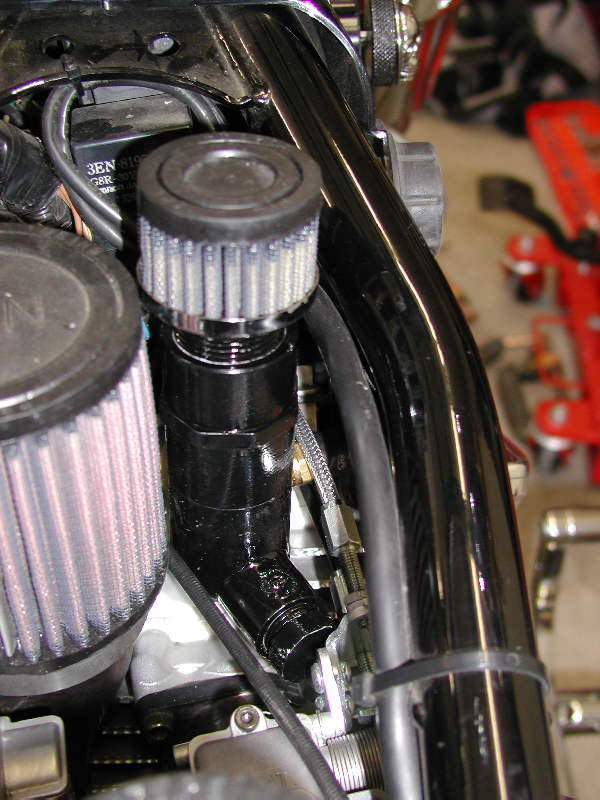
I painted my assembly with black paint to give it the stealth appeal and not show like a soar thumb if looking under the tank. |
|
I epoxied the filter onto the assembly. |
I placed the assembly on the right side of the carbs and zipped tied it to the frame. |
|
|
|